Christmas arrives so suddenly and it is getting close now. So this year I decided to set aside time early to have fun making Christmas cards. I’ve included 5 designs here that use techniques you could adapt for children but adults will enjoy them just as much.
Spinner Cards
See the video at 
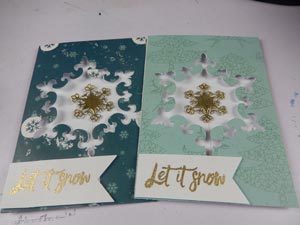
Snowflake spinner christmas card design. With this design I cut a shape from a card front and patterened paper and suspend an embossed snowflake in the gap. This snowflake is then spun around so that it will unwind quickly when the card is opened. Although the snowflake shaped hole is quite tricky you could easily use a heart or star shape instead.
Turning a Design into a Foil Christmas Card
[To see how I did it visit Foil Christmas Cards on YouTube] 
Foil Christmas cards on YouTube.
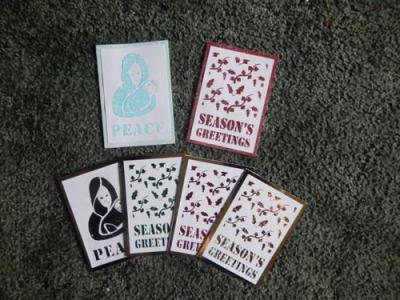
What I love about the Christmas story is that, for me, it is a story about a Mother’s love for her son. So I created a design of a mother and baby. This second design uses foil and glitter but stencils can be used for ink blending, spraying and wiping away to create cards too. I make a quick sketch of holly, ivy and a mother and baby and then import these into Adobe Illustrator. I trace the shapes and create black and white images to import into Silhouette Studio. After cutting the stencils I use them to apply heavy gloss gel medium. While it is still wet I cover some of the cards with Nuvo glitter, then when the others have dried I apply foil using a laminator.
Cellophane Sweet Wrapper Window Cards

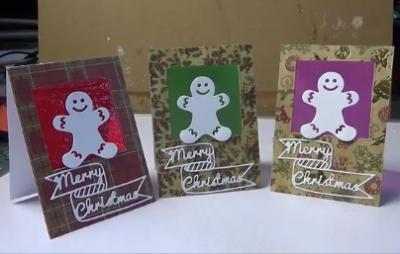
Cellophane cards on YouTube. So for this one I have flattened some sweet wrappers to use as windows in some cards. I use a die to cut a window in some patterend paper and the card front at the same time, so that they line up. Then I attach the cellophane, stretching it slightly, between the card front and the patterned paper. I use double sided tape to create a ‘sentiment sticker’ from some white card stock, which I attach to the front of each card. Finally I add a gingerbread man with foam tape to the front and attach another at the rear of each window – to hide the foam tape.
Homemade Foam Stamps and Partial Die Cut Cards

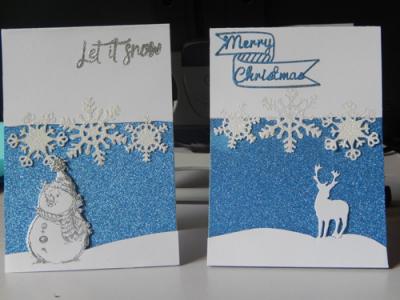
YouTube – Homemade Foam Stamps & Partial Snowflake Die CutThis last design uses your golden oldie dies to make foam stamps to use with partial die cuts. Don’t worry if you have no dies. You can make your own custom shapes and simply cut these from your card yourself. I turn the foam shapes into stamps by applying acrylic gel medium on the reverse. It will last sometime but will eventually lose its stickiness. Glitter cardstock in the background and white puffy embossing powder make this a sparkly Christmas card to send.

