In this post I will be looking at layering techniques for rose art journal pages with a focus on one strategy specifically. Last week I got stuck into pastels after a long break. Art journaling was a phenomena back in 2015 and YouTube was full of inspirational videos of how to use this new supply or that. Of course some people were making big bucks off the trend but that’s just the world we live in. Nowadays there’s less hype around it but for me art journaling has expanded into a serious art practice. I choose to share my (some of ) my pages but of course you don’t have to and creating art within a book is a very rewarding way to create art without any pressure.
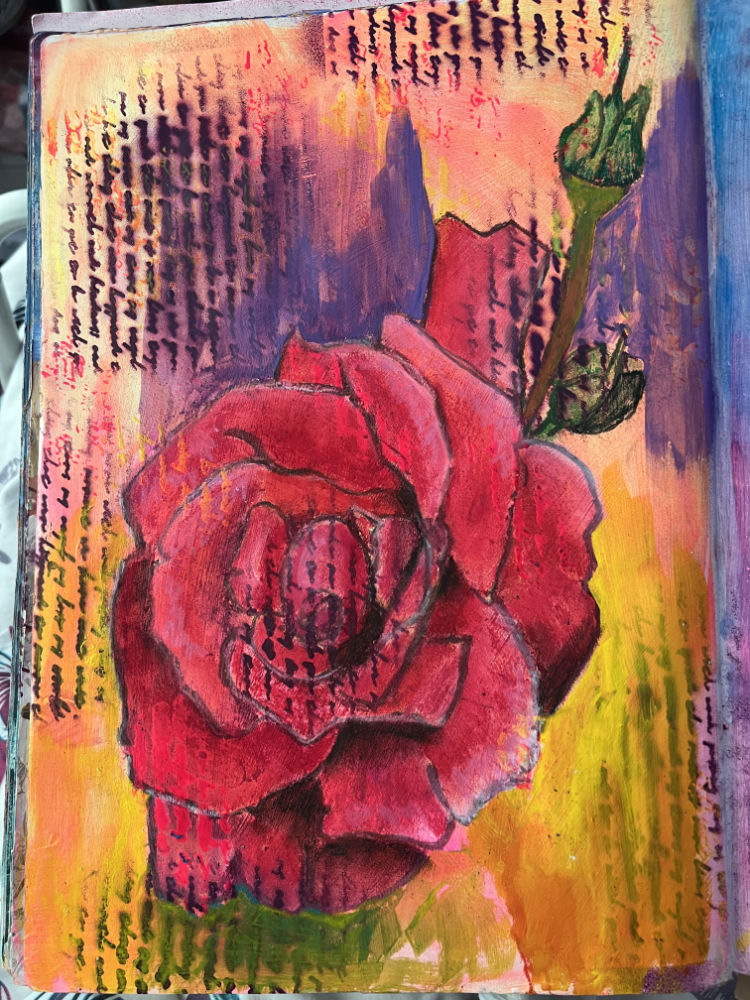
I chose a rose for this page because I grow them in my tiny garden. I have always been mesmerised by their beauty; layers of uncurling petals that seem to go on forever. It seems fitting to apply layering techniques to such a flower to extend the metaphor of hidden depths. That my rose should be red of course is coincidental but those luscious hues are just too tempting to resist.
Materials Needed
- Fluorescent acrylic matt paint
- Stencils/stamps/pattern making tools
- Soft pastels
- Neocolour Aquarelle pastels
- Fixative
Preparing for the Layering Techniques for Rose Art Journal Pages
Make sure you have the right weight of paper for the job as the acrylic is wet media and could warp thin paper as is the gesso. The more layers you add of course, the bigger the stress on your support and tearing is highly likely with thinner papers. Good papers are mixed media papers and watercolour paper.
Creating a Dynamic Background
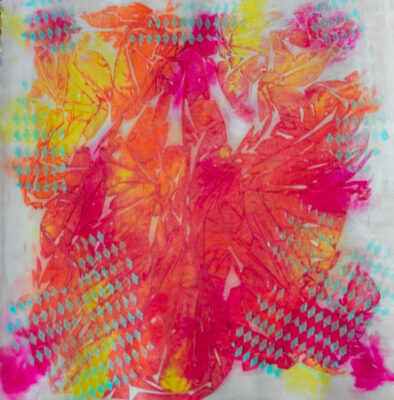
I start by priming the page with a little gesso then on top of this I dripped a little fluorescent matt acrylic paint around the page and then blended it out with a big brush. This layer is a great chance to make big, bold strokes. Once this is dried, stencilling and other mark making can be added and this layer can be repeated as many time as you like. For best effect be aware of colour placement: you can make your contrasts subtle or strong.
Sketching and Painting the Rose
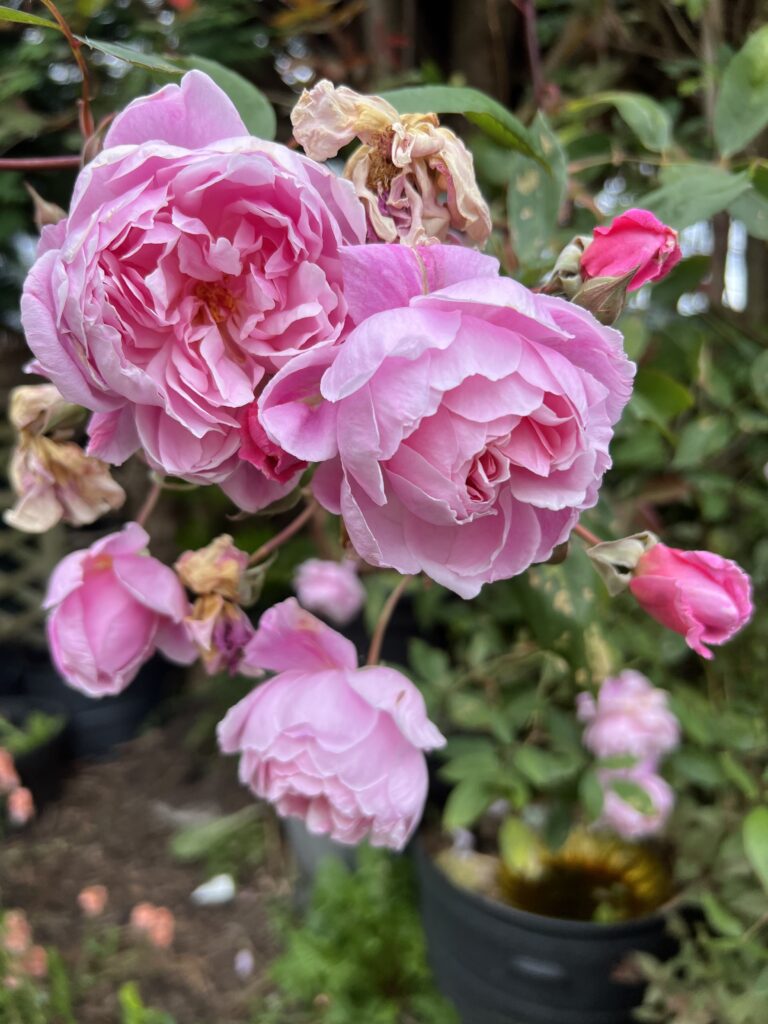
I crack out my charcoal sticks and set to work marking out all the petals of the rose. It’s so easy to wipe charcoal away with a baby wipe and to stop it blending with your next layer add a spritz of pastel fixative. The reference photo was one I took of my own rose. Here are a few for you to use in your art journals.
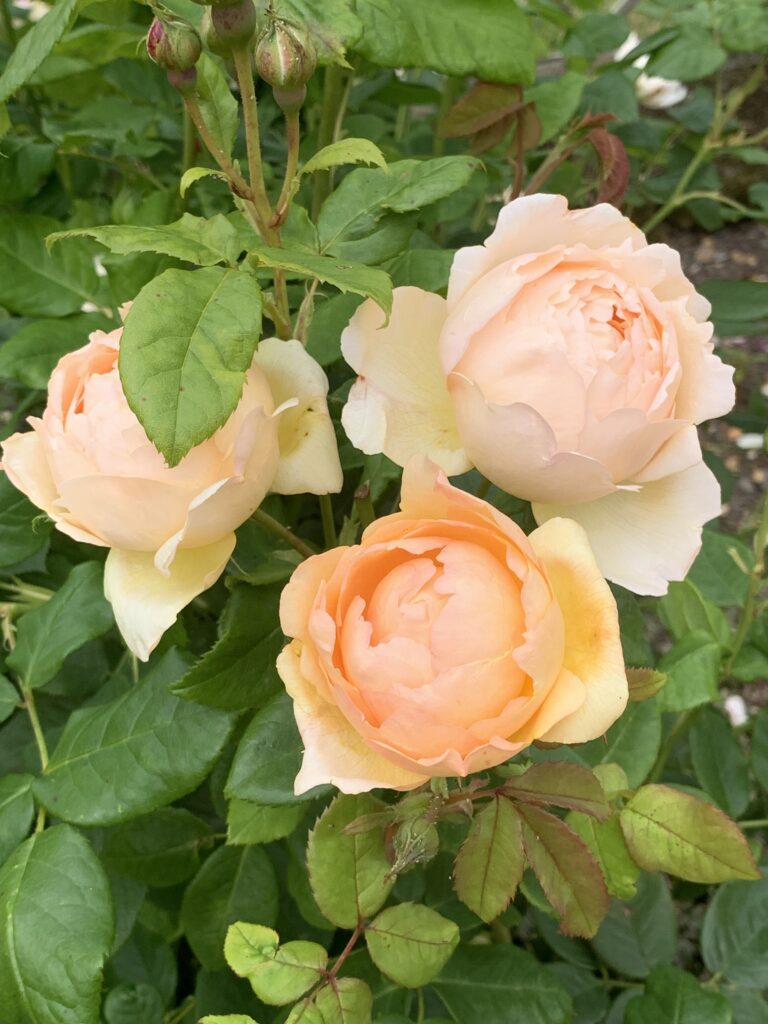
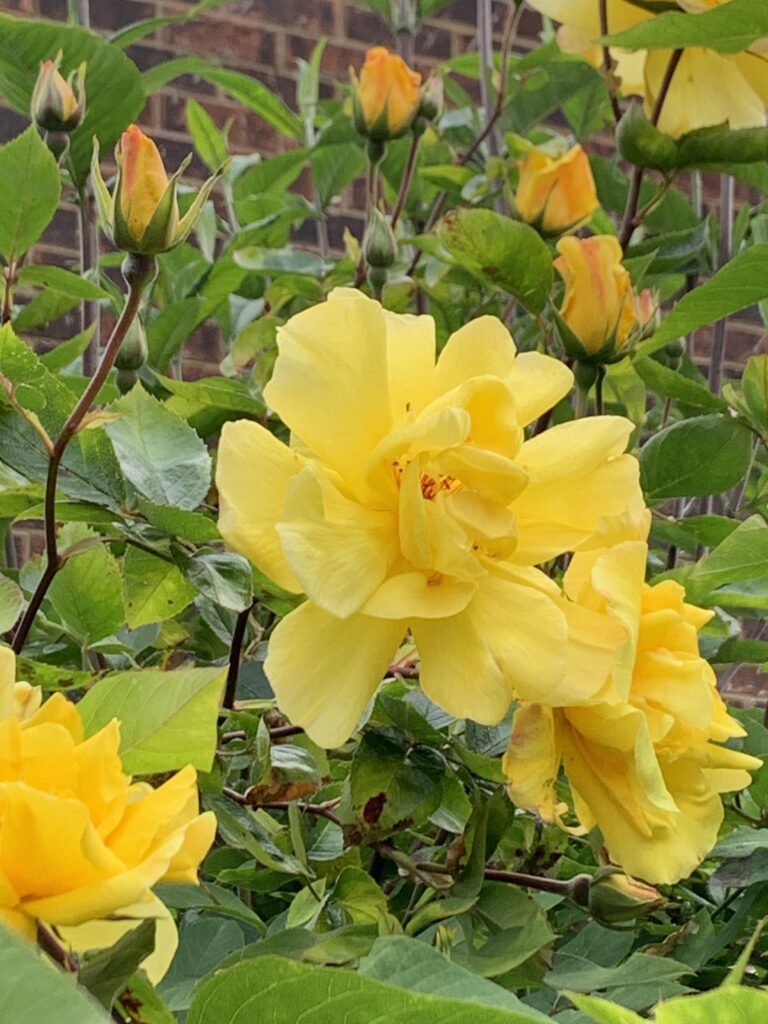
When painting the rose be aware that your background will show through as the matt acrylic doesn’t have enough tooth to support many or heavy layers. With this being the charcoal is also going to be visible and that will affect how well you can show form. I start with dark areas and then add medium then light, ensuring I blend across the values to get gradients. The better your gradients the more realistic your petals will seem.
Integrating Neocolour Pastels
In order to separate the rose slightly from the background I use Neocolour pastels around the rose. The strategy is to use muted colours that contrast with the part of the rose they are next to in terms of lightness or darkness. For example I used light colours around shaded parts of the rose.
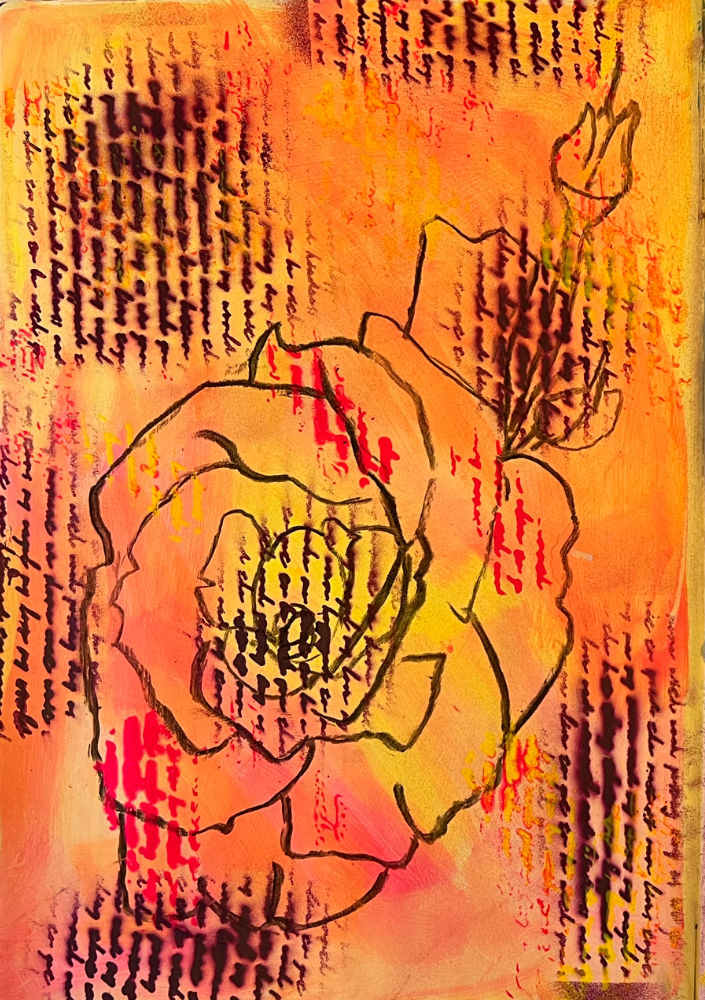
Finishing Touches
After fixing your pastel work go back in with some opaque, light acrylic paint and add a sheen to the petals to really make them come alive.
Reflections and Tips
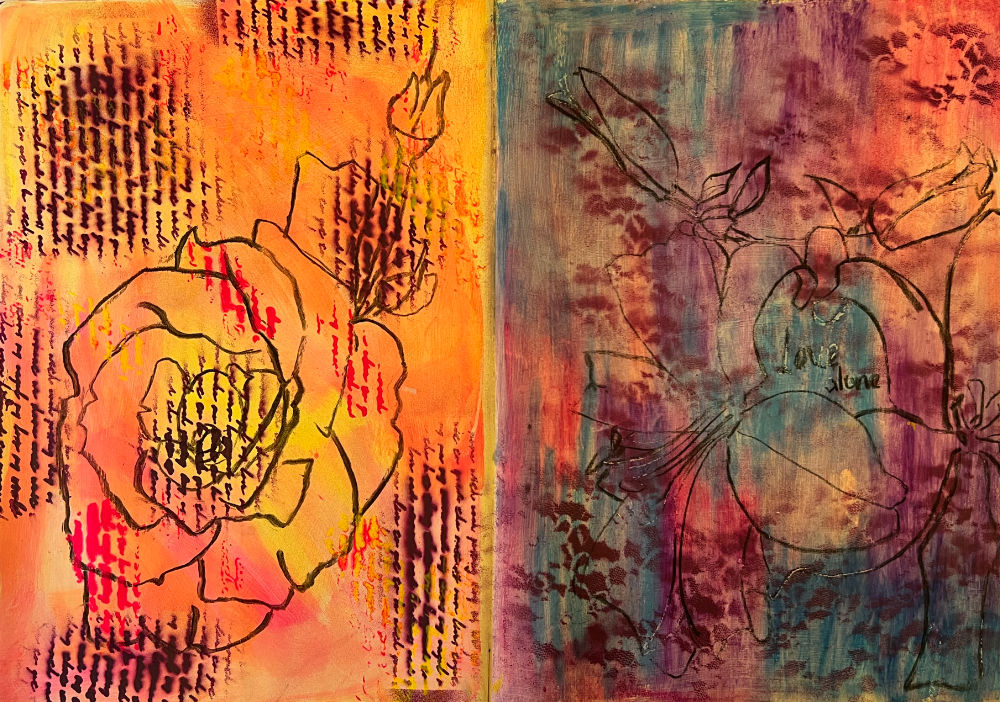
I really enjoyed this loose and sketchy rose painting. The velvety effect of the pastels is really reminiscent of their petals. I want to try to make the facing page work with this one so I shall use similar techniques there.
Please do share your experiences with pastel over acrylic or painting roses. Even leave a tip for other readers.

