1. Be Prepared for Oil Painting
Like most things oil painting has a lot of things you can learn about but also like most things it is possible to start simply. The first things you’ll need are some oil paints, brushes and something to paint on. I would recommend getting some good quality student paints in the basic colours rather than a huge selection of colours. Half the fun of painting is in mixing your own colours and here is a link to some oil paints on sale on Amazon that would be a good starting place. If you don’t want to start painting on canvasses or panels just yet you can start out on canvas paper for oils. This will be simpler to file in a portfolio to chart your progress as you get to know the medium. You can you brushes or pallet knives to good effect and cheap brushes are fine to start with and actually will remain useful as you progress and expand your kit. You may also need some chemicals but I will discuss this further on.2. A Few Basic Rules for Oil Painting
- Ventilation is a must if you are using turpentine as a thinner.
- Paint fat over lean: the proportion of oil in the painting mix increases as you add further layers. The first layer may even be applied with just solvent to give the canvas a tone or to mark out the basic form of your piece.
- Generally work light over dark unless you are using a glazing technique that uses the white of the canvas (like watercolours).
- HAVE FUN !
3. Know Your Options for Painting with Oil Paints
You can use turpentine (very smelly and expensive) or a turpentine substitute to thin paints and clean brushes. Some artists use liquin for thinning paints and it also makes oils dry quicker. Linseed oil can also be used as a thinner, making the paint more translucent, but as it adds ‘fat’ to the mix should be reserved for later layers. Be sure to use refined linseed oil and be aware that there is a risk of spontaneous combustion of linseed left exposed on rags. Some artists use walnut oil instead of linseed oil which can also be used for cleaning brushes. It can easily go rancid though so should be stored in the fridge.
4. Make the Most of the Advantages of Oil Paints
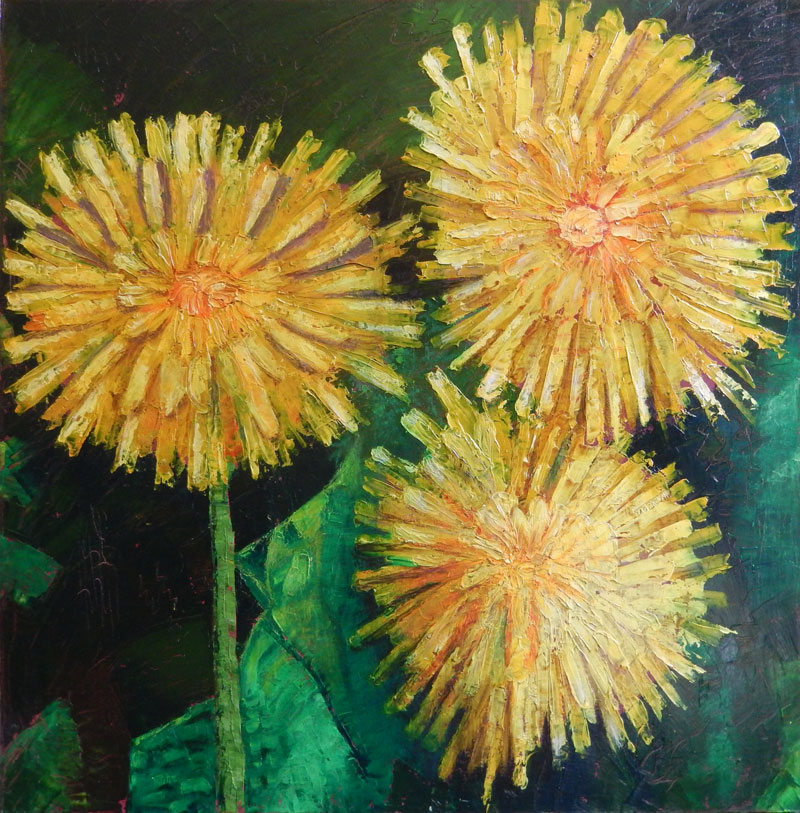
Oil paints are naturally thick bodied, some more or less so. This gives the perfect opportunity to work in an impasto way and this can be enhanced by adding a cold wax preparation to your paint. Impasto paintings are really textural and allow the paint to speak for itself. Oil paints take a long time to dry and this gives them certain advantages although it is not an ideal feature for some painters who like to paint fast. This long drying time can give you the opportunity to paint flexibly throughout the day as time becomes available and can also allow you to take a few days to consider what the painting needs next. Paint that is still wet can easily be wiped off with an old rag, and this can be an effective way to create a tonal underpainting. Use the fat over lean principle to build up layers when painting a la prima (all at once) but leave your art to dry for several weeks or even months, depending on how thickly you applied the paint and the brand of paint’s drying time, before moving on to the next phase.5. Protect Your Oil Painting
The next phase is protecting your oil painting. There are numerous products on the market you can use which are basically varnish. Be sure to choose one that says it can be used with oil as the spray on ones may be acrylic based. A painting that is going to be framed behind glass/perspex doesn’t necessarily need varnish. However, you may enjoy the way varnish can make the paint look like it is still wet although matte varnishes are also available.I hope these tips help if you’ve always fancied trying oil painting. Have fun and enjoy the process. Hugs, Ceri xx
There are no comments yet ... go on, be the first!